Using the Query Dialog to Create More Advanced Filters

Using the Query Dialog to create more advanced filters
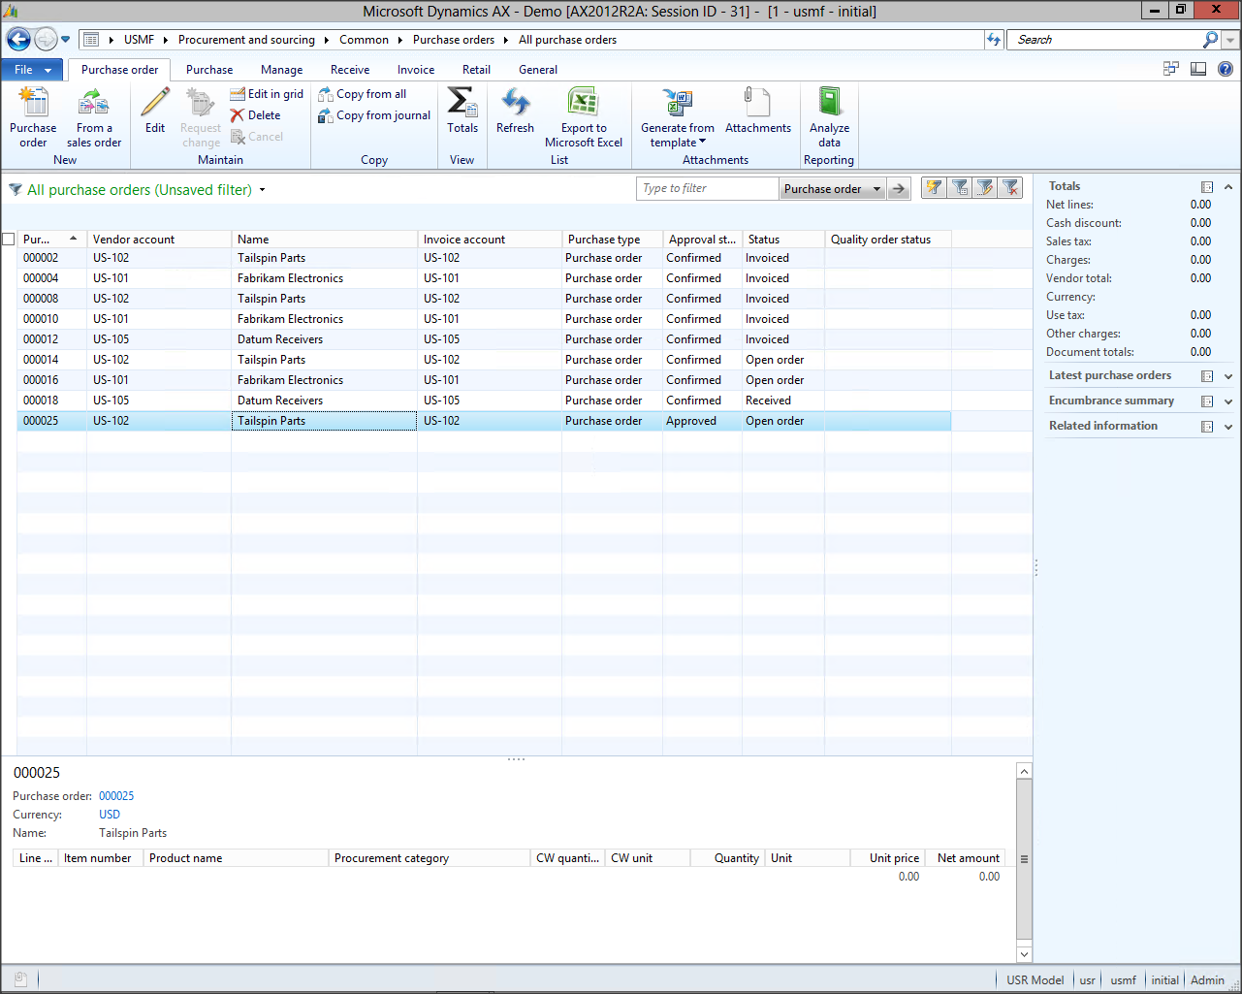
There are a lot of different ways that you can filter out the information in Dynamics AX, but the most flexible one is the Query Dialog. You are probably familiar with this because it shows up a lot when you run updates and reports as the selection box. But you can also access it any time that you are on a list page by pressing CTRL+F3.
This allows you to quickly create custom filters on your data on that is both on the form, and also any additional fields that you may want to add to the query, without having to add additional fields to the form through the personalization. This makes it an incredibly useful way to refine your searches.
HOW TO DO IT…
To access the Query Dialog, just press CTRL+F3 while you are on your list page.
When the dialog box is displayed, you will see all of the fields that are being filtered on by default are listed in the Range section.
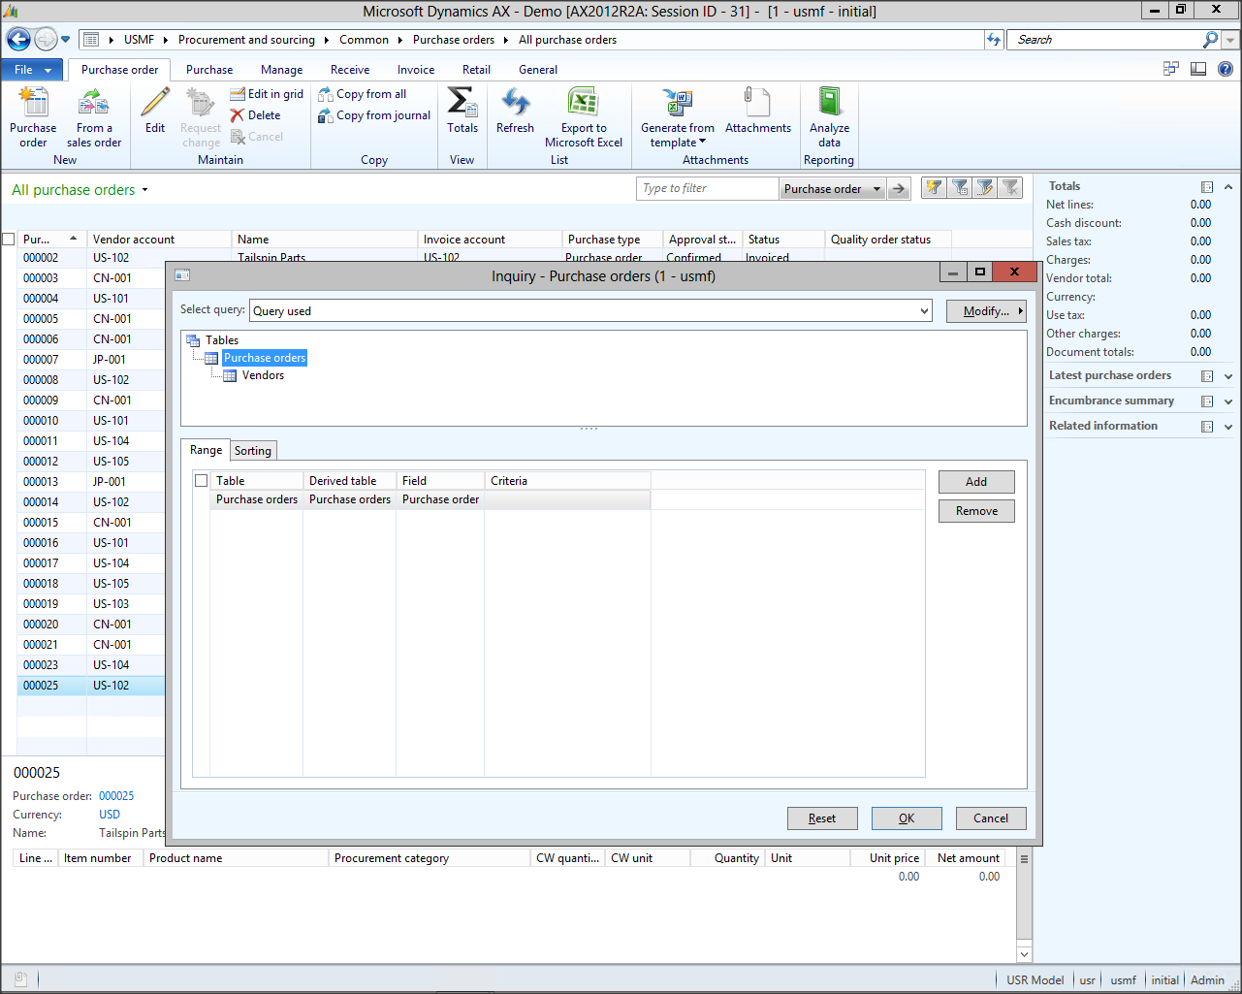
If you click the Add button, then a new range entry will be created, and you can select from any field in the related tables to add as a search criteria.
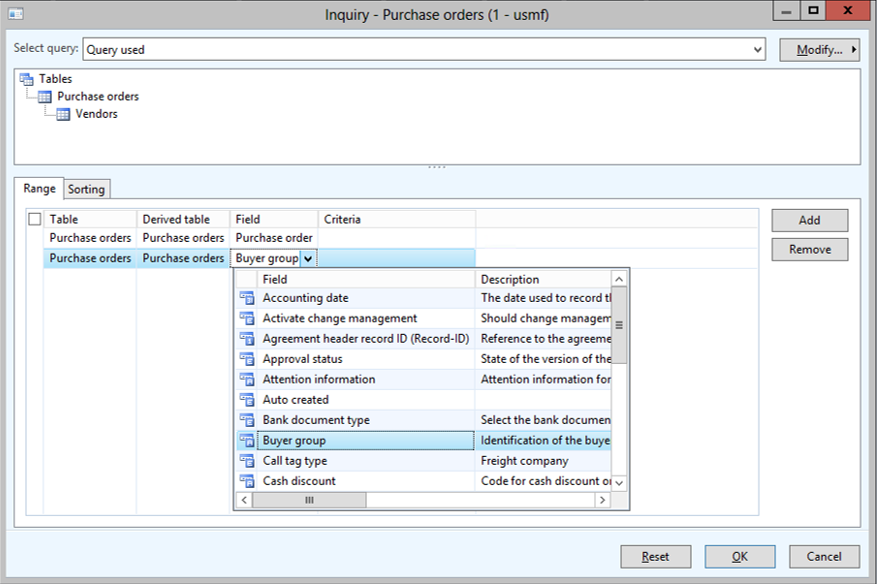
After selecting a field to search on, you can also pull up a list of values for that field to add to your selection criteria.

When you have completed building your query, then you just press the OK button to return to your form.
Now you will see that the filter that you built through the Query Dialog has been applied to your form.