Add Additional Fields To Preview Panes To Save On Drill Throughs
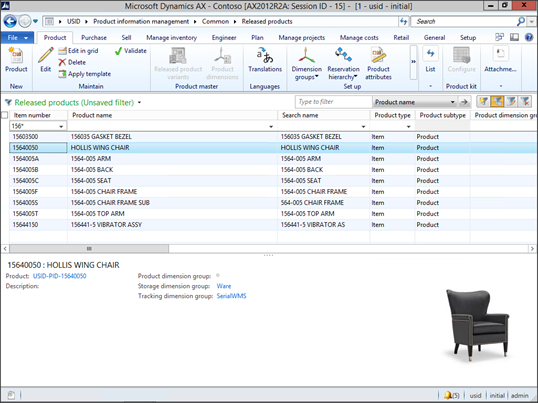
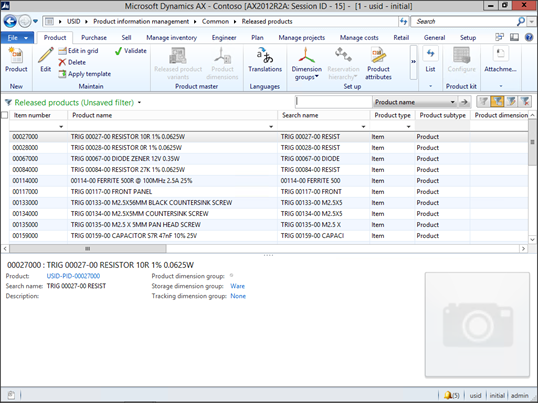
The Preview Panes within the Dynamics AX clients are great ways to browse view the data within the record that you have currently selected, and allow you to quickly scan through the information within your records. But not all information is shown on the preview page – hence the name. But you don’t have to resort to drilling into the records each time if you are always trying to find specific pieces of data – you can personalize the preview panes just like any other form in the system and add your key fields there.
It’s like having your own pair of X-Ray glasses… except you don’t look so goofy.
How To Do It…
To start off though you need to do a little bit of detective work in order to find out where the Preview Pane is defined. Start off by opening up your form with the Preview Pane that you want to change.
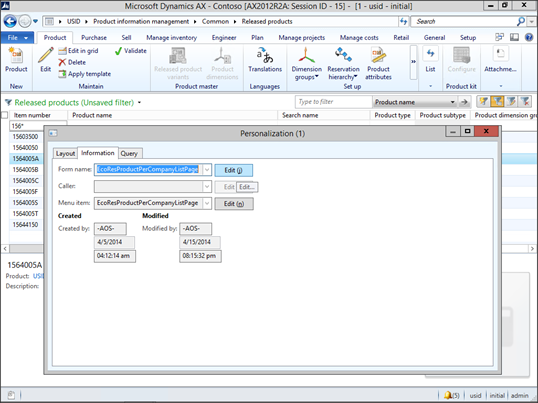
Then right-mouse-click on the list page and select the Personalize option.

When the Personalization dialog box is displayed, switch to the Information tab and click on the Edit button to the right of the Form Name field.
This will open up AOT and take you straight to the form definition.
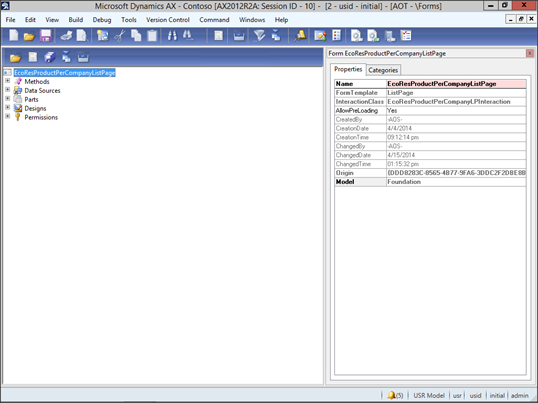
The Preview Pane is a Part that has been associated with the form. Expand out the Parts folder and you will be able to locate the Preview Pane component pretty easily. When you select it, look in the Properties panel and you will see that it is associated with a MenuFormName. Note that menu form down.

Now open up the full AOT tree, expand out the Menu Items node and then the Display folder.

Now scroll down and find the menu item that is referenced by the Preview Pane part, and look in the Object field within the Properties panel. This will tell you the actual form that contains the Preview Pane details.

Now you can open up the Forms group within AOT.

Scroll through the forms and find the one that is referenced by the Menu Item, right-mouse-click on it and select the Open New Window option.

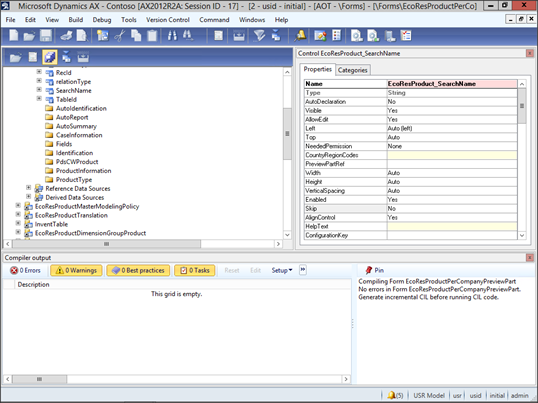
This will open up the form by itself within AOT and make it a little easier work with. If you expand out the nodes within the form you will see all of the fields that are displayed within the preview pane.

To add a field, just find it within the Fields group and then drag and drop it into the display group that you want to show it in.

Now all you need to do is save the form (CTRL+S) and then let AOT do its stuff.
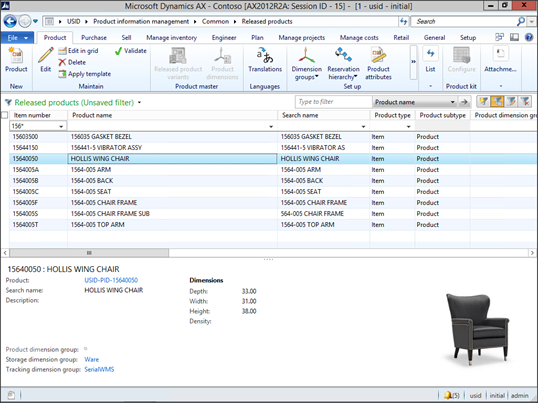
Now when you return to the form you will see your new field is shown in the Preview Pane.
You can take this to the next level if you like and create additional field groups and adding new related fields to it.

This gives you even more information as you are perusing your data.
All this without a single line of code. How easy is that?
